AED 1,499 AirTouch Highlights in Dubai: Salon Steps and Aftercare

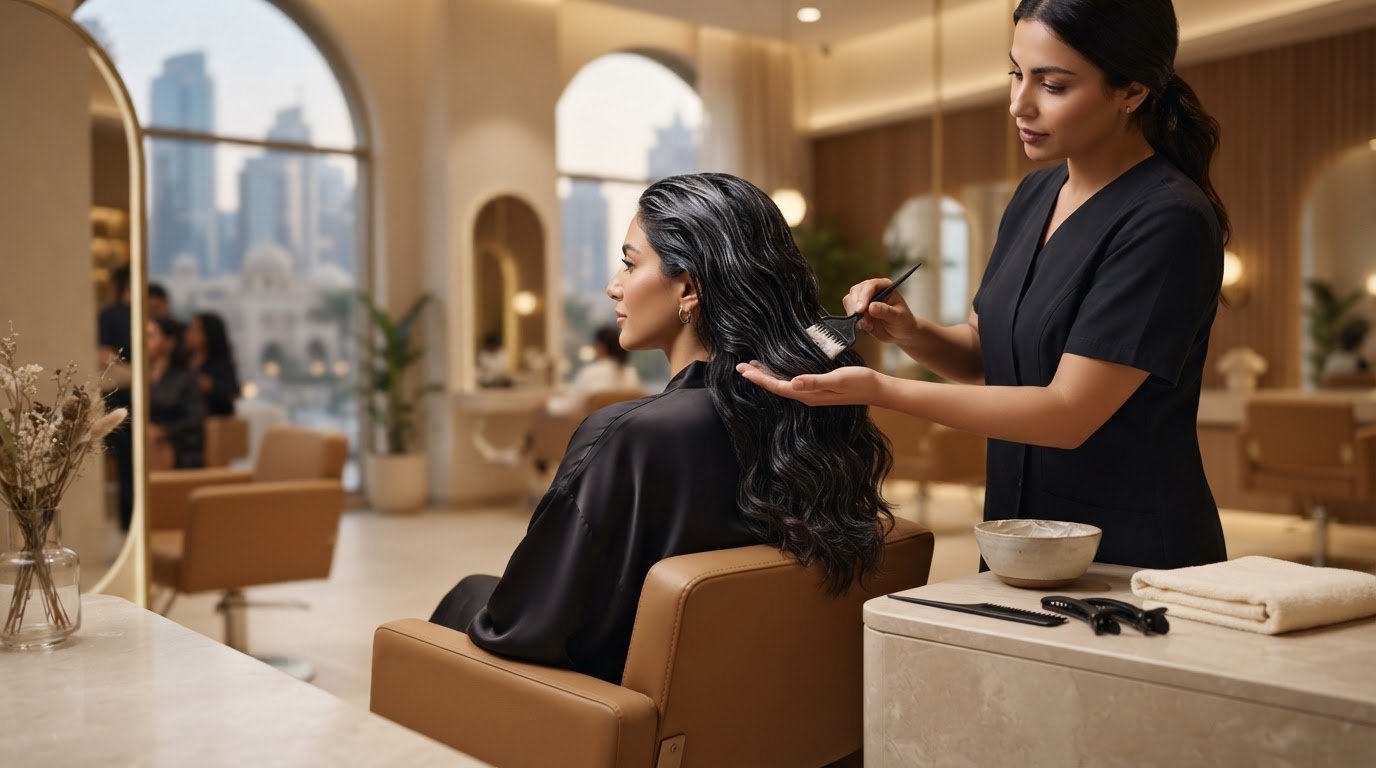
AirTouch highlights are created using a hand-held dryer to blow away the finer, shorter hairs from a section, leaving only the longer strands exposed to lightener. The result is a softer, more diffused blend than most foiling methods produce, with roots that grow out gradually instead of forming a hard line. It suits straight to wavy hair best and needs regular toning and bond care to stay looking fresh.
TL;DR:
- AirTouch highlights rely on airflow to separate shorter hairs, resulting in a softer, more diffused blend that grows out gradually without a harsh line.
- The technique requires specific tools like a narrow nozzle dryer, proper sectioning, and careful formulation, especially on previously lightened or fragile hair.
- It works best on straight to slightly wavy hair, with curly or coily textures demanding adjustments to avoid patchiness and preserve curl integrity.
- Longer appointment times, typically between 3.5 and 5 hours, are standard due to meticulous blow-drying and zone-based processing, which increases costs.
- Post-service maintenance involves regular toning every 8 to 12 weeks, bond treatments, and using bond-support shampoos to minimize damage and maintain color freshness.
Table of Contents
- What makes AirTouch highlights look so blended
- Step-by-step AirTouch tutorial: prep, tools and application
- Who AirTouch highlights suit and who should think twice
- Benefits and drawbacks of choosing AirTouch
- AirTouch versus balayage: which one fits your hair goals
- Aftercare and maintenance after AirTouch highlights
- How long an AirTouch appointment takes and what it costs
- Practitioner tips and common mistakes to avoid
- Why consultation and aftercare matter as much as the technique
- Book an AirTouch-style colour transformation at Boost Beauty Lounge
- Sources
- FAQ
What makes AirTouch highlights look so blended
AirTouch relies on airflow rather than a brush or foil edge to decide which strands get lightened. A stylist directs a narrow-nozzle dryer at a section of hair, and the short, fine hairs lift and scatter while the longer ones stay put. Only those longer strands then get saturated with lightener, which is what creates the soft, feathered transition between colours instead of a visible stripe.
Once the shorter hairs are cleared, the stylist places foil or paints the exposed strands directly, working from mid-lengths toward the ends. Because the airflow step has already done the separating, the placement stage is more about saturation and control than freehand judgement.
- Airflow removes shorter hairs first, so lightener only touches the strands meant to lift.
- Foil or paint placement then locks in the pattern without needing freehand blending.
- The technique is more repeatable than freehand balayage because the sectioning does the work.
- It is less effective on very curly or coily textures, where shorter hairs do not separate cleanly.
Stylists often favour AirTouch precisely because it is predictable. Controlled sectioning tends to produce consistent brightness with soft transitions appointment after appointment, which matters when a client wants the same result every time they come back for a touch-up.
Step-by-step AirTouch tutorial: prep, tools and application
A proper AirTouch service starts long before the dryer comes out. Getting the groundwork right determines whether the final blend looks intentional or patchy.
Pre-service checks
Before any lightener touches the hair, a stylist should run through a short consultation and testing routine.
- Ask about the last colour service, including the product type and how long ago it was done.
- Check porosity by stretching a small strand: overly stretchy or gummy hair signals prior damage.
- Do a strand test on a hidden section if the client has coloured hair of unknown history.
- Document the starting level and tone with a photo for reference during processing.
Tools and product choices
A dryer with a narrow, concentrator nozzle is essential, since a wide diffuser will not separate hair cleanly. Beyond that, most stylists use standard foils or a painting board, along with a lightener suited to the level of lift needed and a developer chosen to match hair condition rather than a fixed formula. Weaker, previously coloured, or fine hair generally calls for a gentler developer strength, while virgin, coarser hair can often tolerate more without excess damage.
Sequential steps
- Section the hair into workable panels, usually starting at the crown and moving outward.
- Take a horizontal or diagonal slice depending on the desired movement.
- Hold the section taut and blow the dryer through it at a moderate distance until the shorter hairs visibly separate and drop away.
- Place foil or paint directly onto the remaining longer strands, saturating from mid-shaft toward the ends first, since ends often lift faster and need less exposure time.
- Repeat section by section, working methodically rather than randomly, to keep the blend even across the head.
- Check processing every 10 to 15 minutes by unwrapping a test section and assessing lift.
- Rinse once the desired level is reached, then move to toner or gloss to neutralise brassiness.
Processing time varies by section, but stylists typically budget more time for denser hair since each panel takes longer to blow out cleanly. Fine hair separates faster, which can shorten the airflow step but requires closer attention so lightener is not left on too long.
Pro Tip: Work in smaller sections than you think you need, since rushing the airflow step is the most common reason AirTouch ends up looking uneven rather than blended.
Who AirTouch highlights suit and who should think twice
AirTouch works best on hair textures where the dryer can genuinely do its job. Straight to slightly wavy hair separates cleanly under airflow, which is why it is the ideal candidate for this technique, especially for clients who want a soft regrowth line and do not want to book frequent touch-ups.
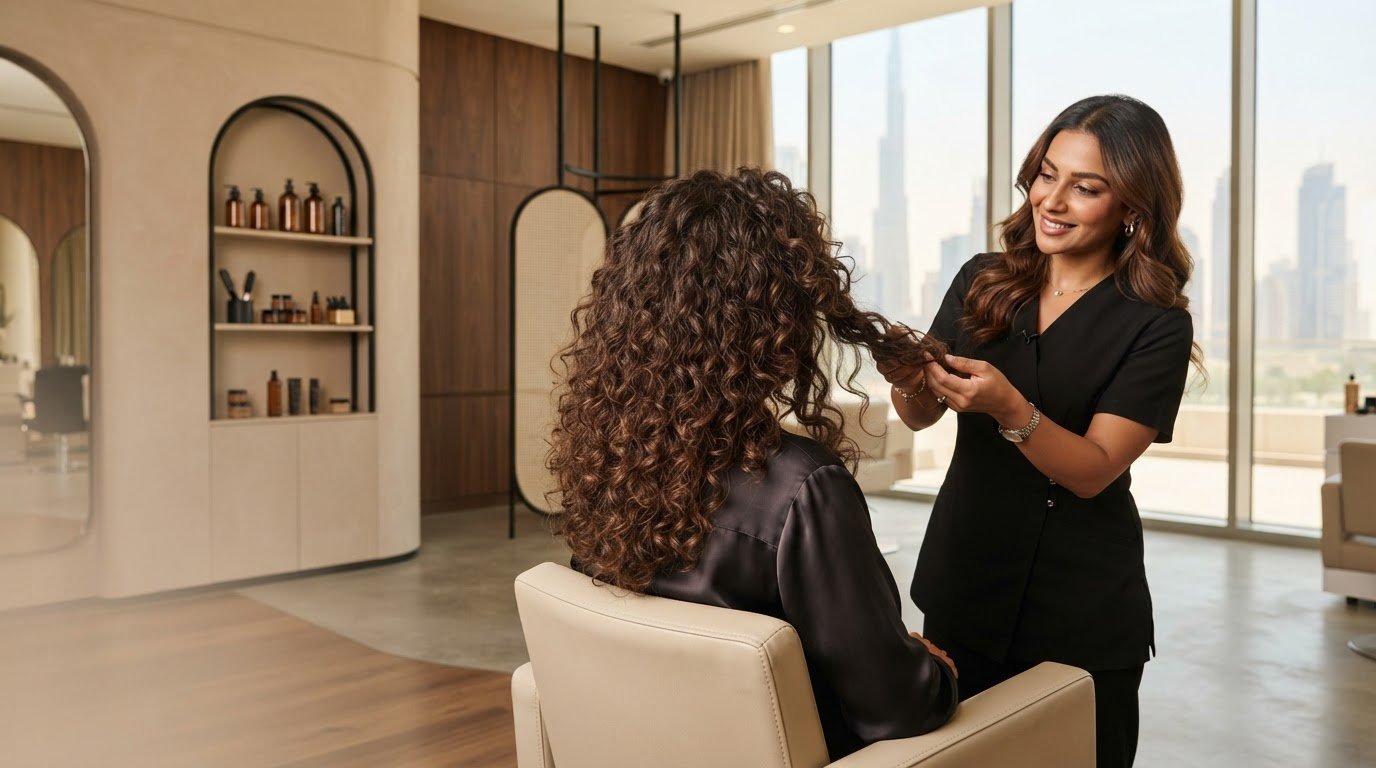
Curly and coily hair present a different challenge. The natural coil pattern means shorter hairs do not always lift and separate the way straight hair does, so stylists need to adjust developer strength and foil placement to avoid flattening or compressing the curl pattern. Without those adjustments, highlights can end up looking patchy once the hair dries and the curls spring back.
- Straight to wavy hair: ideal candidate, minimal adjustment needed.
- Curly or coily hair: needs zoned formulas and careful placement to protect curl integrity.
- Previously lightened or porous hair: requires separate formulas for regrowth versus ends to avoid over-processing fragile sections.
- Very fine or fragile hair: may need lower developer strength regardless of texture.
Previously coloured hair adds another layer of care. Stylists typically zone the formula, using a stronger mix on virgin regrowth and a gentler one on ends that have already been lightened, since those ends are more porous and prone to breakage if treated the same way as fresh hair.
Benefits and drawbacks of choosing AirTouch
AirTouch is not automatically the right choice for everyone, and weighing the trade-offs honestly helps set expectations before booking.
- Benefit: highly predictable results, since sectioning controls exactly where lightener lands.
- Benefit: seamless grow-out with roots that fade gradually instead of showing a hard line.
- Benefit: a polished, dimensional finish that suits face-framing sections and the crown, where demarcation is usually most visible.
- Drawback: significantly longer chair time than standard foiling, since each section is blown out individually.
- Drawback: not well suited to every texture, particularly tighter curl patterns.
- Drawback: risk of over-processing if formulas are not adjusted for previously coloured or fragile sections.
The longer service time and the need for precise formulation generally push AirTouch toward a higher price bracket than a quick foil refresh. That extra investment tends to pay off in fewer root touch-ups, but it does mean planning for a longer appointment and a maintenance routine that keeps the blend looking fresh.
AirTouch versus balayage: which one fits your hair goals
Both techniques aim for a natural, blended look, but they get there differently. AirTouch uses airflow to separate strands before placing colour, which gives a stylist tight control over exactly where lightener sits. Balayage is painted on freehand, relying on the stylist’s eye rather than a mechanical separation step.
- AirTouch: airflow-based separation, then foil or paint placement for controlled, repeatable results.
- Balayage: freehand painting, more organic and reliant on the stylist’s technique.
- AirTouch tends to suit straight and wavy hair better, since curl patterns can interfere with airflow separation.
- Balayage often shows more natural movement on textured or curly hair, where painted strokes can follow the curl pattern.
- Choose AirTouch for a very seamless, low-maintenance grow-out; choose balayage for softer, more organic dimension with a bit more room for imperfection.
Aftercare and maintenance after AirTouch highlights
Lightened hair needs a maintenance plan, not just a one-off appointment. A study on the tensile strength of bleached hair found substantial protein loss and cuticle damage from bleaching treatments, which is why aftercare matters as much as the initial application.

Most salon educators recommend spacing gloss or toning appointments every 8 to 12 weeks rather than repeating a full lightening service, since this keeps tone fresh without adding unnecessary stress to the hair. A partial retouch on regrowth can usually wait even longer if the AirTouch blend was done well, since the whole point of the technique is a gradual, low-visibility root line.
Bond-building treatments matter just as much as toning. Lightener breaks down the internal bonds that give hair its strength, so professional bond treatments in the weeks after a service help rebuild that structure and reduce breakage. Insider guidance from stylists suggests continuing bond-repair treatments for at least the first month after lightening to protect resilience.
- Book a toning or gloss appointment every 8 to 12 weeks to keep colour fresh.
- Ask about in-salon bond treatments in the weeks following a lightening service.
- Use bond-support shampoo and conditioner at home rather than standard formulas.
- Apply a heat protectant before every blow-dry or styling tool use.
- Space out washing where possible, since over-washing strips toner faster.
How long an AirTouch appointment takes and what it costs
A full AirTouch service is a genuine time investment. Detailed educator write-ups on significant lift services suggest sessions often run between 3.5 and 5 hours depending on hair density and how much lift is needed from the starting colour.
Several factors push time and cost up: longer or denser hair takes more sections to blow out, a bigger jump in lift needs more careful formulation, and add-ons like bond treatments or a toner extend both the appointment and the price. Fine, shorter hair with a smaller colour change will sit at the lower end of that range.
- Ask how many hours the salon typically books for AirTouch on your hair length and density.
- Confirm whether toning and bond treatments are included in the quoted price or charged separately.
- Bring reference photos so the stylist can gauge the level of lift you actually want.
Practitioner tips and common mistakes to avoid
Stylists who get consistent AirTouch results treat regrowth and previously lightened lengths as two separate jobs, using a stronger formula near the root and a gentler one on ends that have already been through a lightening cycle. This zoning protects fragile hair from double-processing.

Lowering developer volume on already-lightened sections and checking progress every few minutes during processing catches problems before they become permanent. If a slice lifts too fast or looks uneven, the fix is usually to rinse that section early and address it separately rather than leaving the whole head processing on one timer.
Pro Tip: If a section is lifting faster than the rest, rinse it on its own rather than waiting for the whole head, since uneven timing is easier to correct in the moment than after the full service is rinsed.
Why consultation and aftercare matter as much as the technique
At Boost Beauty Lounge, every colour appointment starts with a consultation where the stylist talks through hair history, goals and any previous lightening before building a plan for the session. That conversation shapes the formula and placement long before any lightener is mixed.
Clients can book a full colour transformation package that covers balayage, highlights, ombré or full colour alongside toning, haircut and styling. Every booking comes with home-care guidance and a satisfaction guarantee, so questions after the appointment do not go unanswered.
— Boost
Book an AirTouch-style colour transformation at Boost Beauty Lounge
If you want the seamless blend an AirTouch look delivers, the Hair Package at Boost Beauty Lounge covers balayage, highlights, ombré or full colour for a fixed 1499 AED, with roots touch-up, toning, haircut, conditioning, blow-dry and styling included.

Payment is only taken after the service is done, and every plan includes a consultation to match the formula and placement to your hair’s condition. Bring reference photos and a note of your last colour service, then message the salon on WhatsApp to book a slot.
Sources
For a fuller technical breakdown, Behindthechair’s AirTouch guide covers the blow-dry and foil method in detail. PS Beauty’s hairstylist interview explains why the technique suits face-framing sections, and the tensile strength study documents the structural damage bleaching causes.
- AirTouch: Your Complete Guide To The Blow Dry & Foil Technique
- Study on the tensile strength of bleached hair (2026)
- What Are ‘Airtouch’ Highlights? Find Out From a Hairstylist | PS Beauty
FAQ
What are AirTouch highlights?
AirTouch highlights are created by using a dryer to blow shorter hairs out of a section, then lightening only the longer strands that remain, producing a soft, diffused blend rather than a hard-edged highlight pattern.
Is AirTouch better than foil highlights?
Neither is strictly better; AirTouch tends to give a more seamless grow-out and softer transitions, while traditional foiling can be faster and works well on textures where airflow separation is less effective. The right choice depends on hair type and how much maintenance you want.
Is AirTouch damaging to hair?
Any bleaching or lightening process weakens hair fibres and increases protein loss, as shown in a study on bleached hair’s tensile strength, so AirTouch carries the same underlying risk as other lightening techniques. Using zoned formulas and following up with bond treatments helps manage that risk.
What is the difference between AirTouch and balayage?
AirTouch uses airflow to separate strands before applying lightener, giving a controlled, repeatable pattern, while balayage is painted on freehand for a more organic, less mechanical result. AirTouch generally suits straight to wavy hair best, while balayage often shows better movement on curlier textures.
Recommended
Ready to book this look?
See this package